Imagine this: You’ve been tasked with developing a new custom software application for your company. The traditional development process needs to be faster and more convenient. Months are spent on planning documents before a single line of code is written. By the time the application is finally launched, the market has shifted, and your initial concept needs to be updated. This scenario is all too common with traditional development methodologies. But there’s a better way! Enter Rapid Application Development (RAD), a development approach that emphasizes speed, flexibility, and user involvement.
Rapid Application Development (RAD) is a software development methodology that prioritizes speed, flexibility, iterative development, collaborative teamwork, and the use of pre-built components to create and modify applications swiftly.
RAD is a software development methodology that prioritizes rapid prototyping, iterative development, and close collaboration with users. Unlike traditional methods that focus on extensive planning upfront, RAD gets you building and testing early and often. This allows you to course-correct based on user feedback and deliver a final product that truly meets their needs.
The RAD market is growing due to advantages over other development models, flexible requirements, customer feedback prioritization, increasing developments, rising demand for application integration, and the need for microservices.
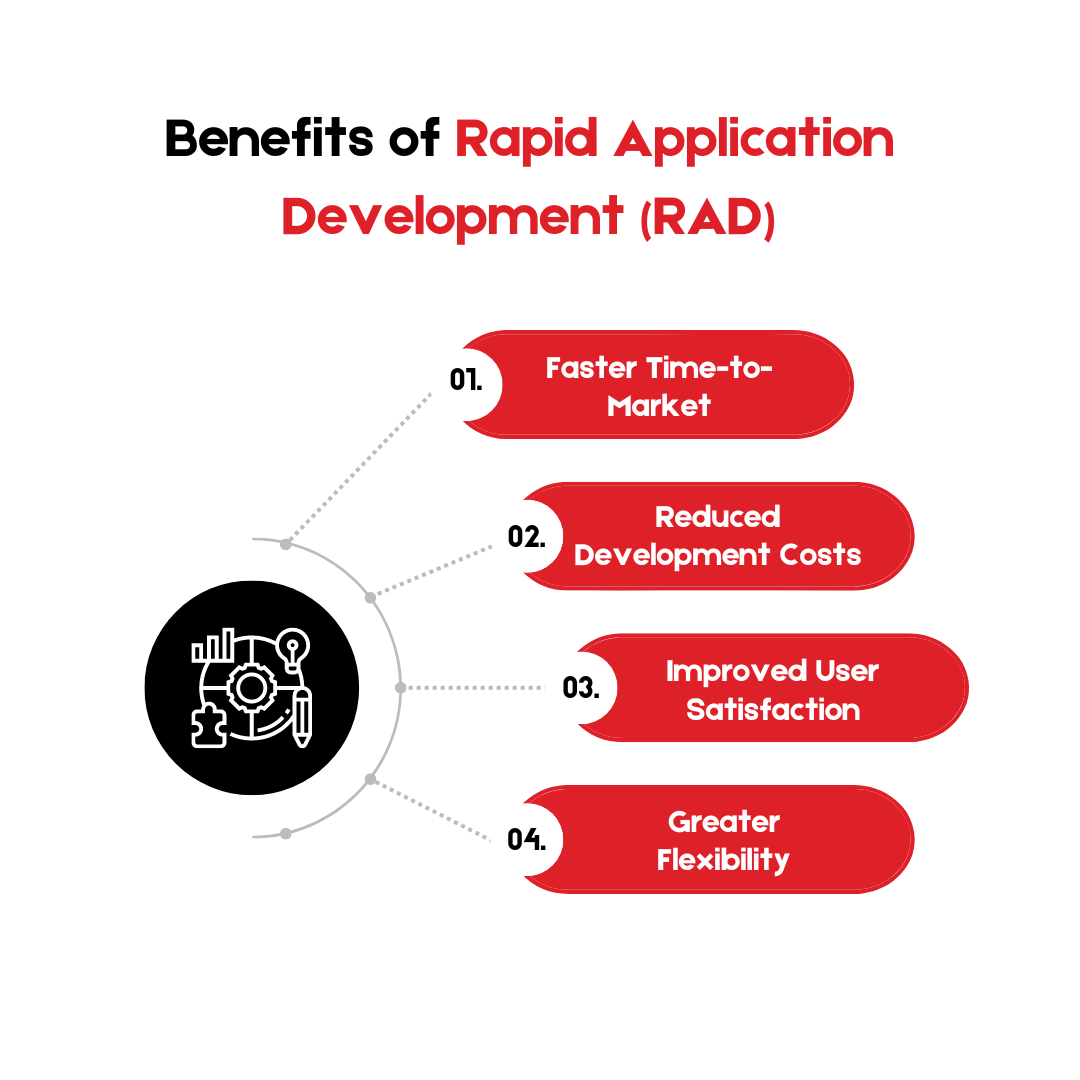
There are numerous advantages to using RAD for your software development projects. Here are some of the key benefits:
Here are some real-world examples of Rapid Application Development (RAD) in action:
It’s important to remember that Rapid Application Development is most suitable for projects with well-defined core functionalities and a clear understanding of user needs.
Understanding RAD’s strengths and limitations can help you determine whether it’s the right approach for your next development project.
While RAD offers numerous benefits, there are better fits for some projects. Here are some potential drawbacks to consider:
RAD is a great choice for projects that meet the following criteria:
The 5 Steps of the Rapid Application Development (RAD) Process are:
This section takes a deep dive into the five steps of the RAD process, using the example of developing healthcare app to help patients manage their diabetes. We’ll explore each step in detail, highlighting the technical aspects for beginners and emphasizing the importance of user feedback throughout the process.
This initial step lays the groundwork for your entire application. Here’s how to gather valuable user requirements:
User Interviews: Schedule interviews with real diabetic patients. Prepare questions that delve into their daily routines, challenges with managing their condition, and technology experience.
Technical aspects to consider: Ask if they’re comfortable using smartphones and mobile apps. Are there any accessibility features they require, such as larger text or voice control?
Example questions: “What are the biggest challenges you face in managing your diabetes on a daily basis?” “How do you currently track your blood sugar levels?” “What features would be most helpful for you in a diabetes management app?”
Doctor and Nurse Input: Collaborate with healthcare professionals to understand their perspective.
Technical aspects to consider: Discuss features that would integrate with existing healthcare systems for data sharing (with patient consent) or functionalities that streamline tasks like appointment scheduling or medication refills.
Example questions: “What functionalities would be most beneficial for you in supporting patients with diabetes management through a mobile app?” “Are there any specific data points you’d like patients to be able to track and share with you easily?”
Surveys: Cast a wider net to gather broader user feedback. Create online surveys to reach a larger pool of potential users.
Technical aspects to consider: Include questions about preferred features like data visualization tools for blood sugar trends, integration with wearable health trackers, or educational resources on specific diabetes topics.
Survey question examples: “On a scale of 1 to 5, how important would a feature be that allows you to set medication reminders?” “Would you be interested in using an app that connects with your smartwatch to log blood sugar readings automatically?”
Here, you get your hands dirty and start building a visual representation of the app. Don’t worry about perfect code or complex functionalities yet. The goal is to get a basic model in front of users for initial feedback.
Low-fidelity Prototype: Think of this as a digital sketch. Use online prototyping tools or even a whiteboard to create simple layouts of the app’s screens. Focus on core functionalities like blood sugar logging, medication reminders, and educational content sections.
Technical aspects to consider: Use basic shapes and text boxes to represent buttons, input fields, and menus. The goal is to convey the overall layout and user flow, not the final design aesthetics.
User Testing: Recruit a new group of diabetic patients and healthcare professionals to interact with the low-fidelity prototype.
Testing methods: Observe how users navigate through the prototype and ask them to think aloud as they interact with different features. This helps identify any confusion or areas that need improvement in clarity.
Technical aspects to consider: Pay attention to how users understand the layout and functionalities represented in the basic prototype. Are the buttons and menus clear? Can they envision how they would input data or access features in the final app?
Armed with valuable user insights, it’s time to refine your prototype and start developing core functionalities.
Refine the Prototype: Based on user feedback from the low-fidelity prototype, improve the design and functionality. You can create a mid-fidelity prototype that includes more details, such as button placements, text labels, and sample data visualizations for blood sugar trends.
Technical aspects to consider: Use prototyping tools that allow for a more polished look and feel, but remember, you’re still focusing on core functionalities, not the final design.
Develop Core Features: Start building the essential functionalities of the app. For example, our diabetes management app might involve developing a blood sugar logging feature. Here’s a technical breakdown:
Data Entry: Create user interfaces for entering date, time, blood sugar value, and optional notes. Ensure data validation to prevent nonsensical entries.
Data Storage: Develop a secure back-end system to store user data (with proper encryption and access controls following healthcare data privacy regulations).
Visualization: Create basic charts or graphs to display blood sugar trends over time. This could involve libraries or tools within your chosen development framework to simplify data visualization.
This step focuses on rigorous testing to ensure the app is usable, meets user needs, and functions as intended.
Usability Testing: Recruit a new group of users with no prior exposure to the app. Observe how they interact with a mid-fidelity prototype or a basic functional version of the app you’ve developed based on the core functionalities.
Testing methods: Use screen recording tools to capture user interactions. After testing, interviews will be conducted to gather feedback on ease of use, clarity of instructions, and overall user experience.
Technical aspects to consider: Pay attention to any technical glitches or areas where users struggle to navigate or understand functionalities. Are data entry fields clear and user-friendly? Can users easily find the features they’re looking for?
User Acceptance Testing (UAT): Ask healthcare professionals (doctors, nurses) and diabetic patients to test the app’s core functionalities, such as blood sugar logging and medication reminders.
Testing methods: Provide users with a testing plan outlining specific features to evaluate. They should ensure the app functions as expected and meets the initial requirements defined in Step 1.
Technical aspects to consider: Focus on ensuring data accuracy, security, and functionality during UAT. Can users log blood sugar readings accurately? Do medication reminders trigger at the designated times? Does the app integrate with any existing healthcare systems as planned (with proper patient consent)?
Once rigorous testing is complete and the app is polished, it’s time to release it to the target audience (diabetic patients in this example). This involves submitting the app to app stores like Google Play or Apple App Store, following their guidelines, and ensuring compatibility with different devices.
The development process continues after deployment! There might be bugs to fix based on user reports, new features to add based on ongoing user feedback, and compatibility updates required for new phone models. The RAD process allows you to address these needs quickly through new iterations.
Technical aspects to consider: Set up a system for collecting user feedback and bug reports. Use analytics tools to track user behavior within the app and identify areas for improvement. Be prepared to release updates that address bugs, introduce new features, or enhance functionalities based on user feedback.
Remember: Rapid Application Development is all about building, testing, and refining based on user feedback. This iterative process ensures your app stays relevant and user-friendly.
There are three main development methodologies commonly used: Rapid Application Development, Agile, and Waterfall. While they all share the goal of delivering software, they approach the development process differently. Here’s a breakdown to help you understand how they compare:
The best development methodology for your project depends on various factors, including project size, complexity, requirement clarity, and time constraints.
RAD tools are a category of software designed to streamline the process of building applications, particularly web applications. These tools accelerate development by providing functionalities like:
There are many different RAD tools available, catering to a range of needs and skill levels. Here’s a breakdown to help you navigate the options:
Ultimately, the best RAD tool for your project depends on your specific requirements, budget, and technical expertise. By understanding the features and capabilities offered by different tools, you can choose the one that best suits your needs for rapid web application development.
Rapid Application Development (RAD) is a powerful methodology for delivering high-quality software applications quickly and efficiently. By \ rapid prototyping, iterative development, and user involvement, RAD empowers you to build applications that truly meet user needs. Here is the summary of the blog:
A Rapid Application Development (RAD) methodology is an iterative approach to software development that emphasizes speed, user involvement, and continuous improvement. It prioritizes building a basic functional version of the application quickly and gathering user feedback early and often. This feedback is then used to refine and iterate on the design and functionalities throughout the development process.
The RAD process typically involves the following stages:
There isn’t a single, universally accepted RAD framework. However, several RAD methodologies share core principles, such as iterative development, rapid prototyping, and user involvement. Some popular RAD methodologies include:
The Rapid Application Development Lifecycle (RADLC) is another term for the overall process of building an application using the RAD methodology. It encompasses all the stages involved, from initial requirements gathering to deployment and ongoing maintenance.
Rapid Application Development Software (RAD tools) is a category of software designed to streamline and accelerate the development process, particularly for building web applications. These tools offer functionalities like:
There are numerous advantages to using RAD for your software development projects. Here are some key benefits:
While RAD offers numerous benefits, there are better fits for some projects. Here are some potential drawbacks to consider:
The 5 steps of rapid application development are:
1: Requirements Gathering
2: Rapid Prototyping
3: Iterative Development
4: User Testing and Feedback
5: Deployment and Maintenance
RAD: Focuses on rapid prototyping and iterative development with user involvement. It is ideal for projects with clear requirements and tight deadlines.
Agile: Emphasizes flexibility and adaptability, breaking projects into short sprints with continuous delivery and user feedback. Better suited for projects with evolving requirements.
RAD Tools are Software designed to streamline building applications, especially web apps. They offer features like rapid prototyping, pre-built components, drag-and-drop interfaces, and sometimes automated code generation.
RAD is A software development methodology. JAD (Joint Application Design) is A specific technique used within some methodologies (including RAD) that involves workshops where users and developers collaboratively define application requirements. RAD is a broader concept, while JAD is a specific tool used within RAD (or other methodologies).